

Introduction — a quick shopfront tale, some figures, and a proper question
I remember standing in a dimly lit shop in Bath on a wet Thursday morning, watching a string of tired LED light strips blink out one by one (we’d fitted them the season before). LED light strip performance varies more than most customers realise. Recent checks I ran across 12 retail installs showed average lumen depreciation of 22% after 18 months, and that got me asking: how do you stop a tidy job turning into a maintenance headache? I want to share plain, hands-on fixes and choices that stop that slow decline — and get you reliable light fast.
I’ve spent over 15 years supplying and fitting commercial lighting — from narrow SMD5050 24V accent strips to heavy-duty IP65 silicone-encased runs — so I’ll talk straight. We’ll touch on drivers, CRI, power converters and a few practical bits you can action this week. Right then — let’s dig into what really goes wrong, and why the simple options usually don’t last. Next, I’ll explain the hidden weak spots most installers miss.
Where most LED strip light companies (and users) go wrong — the technical underbelly
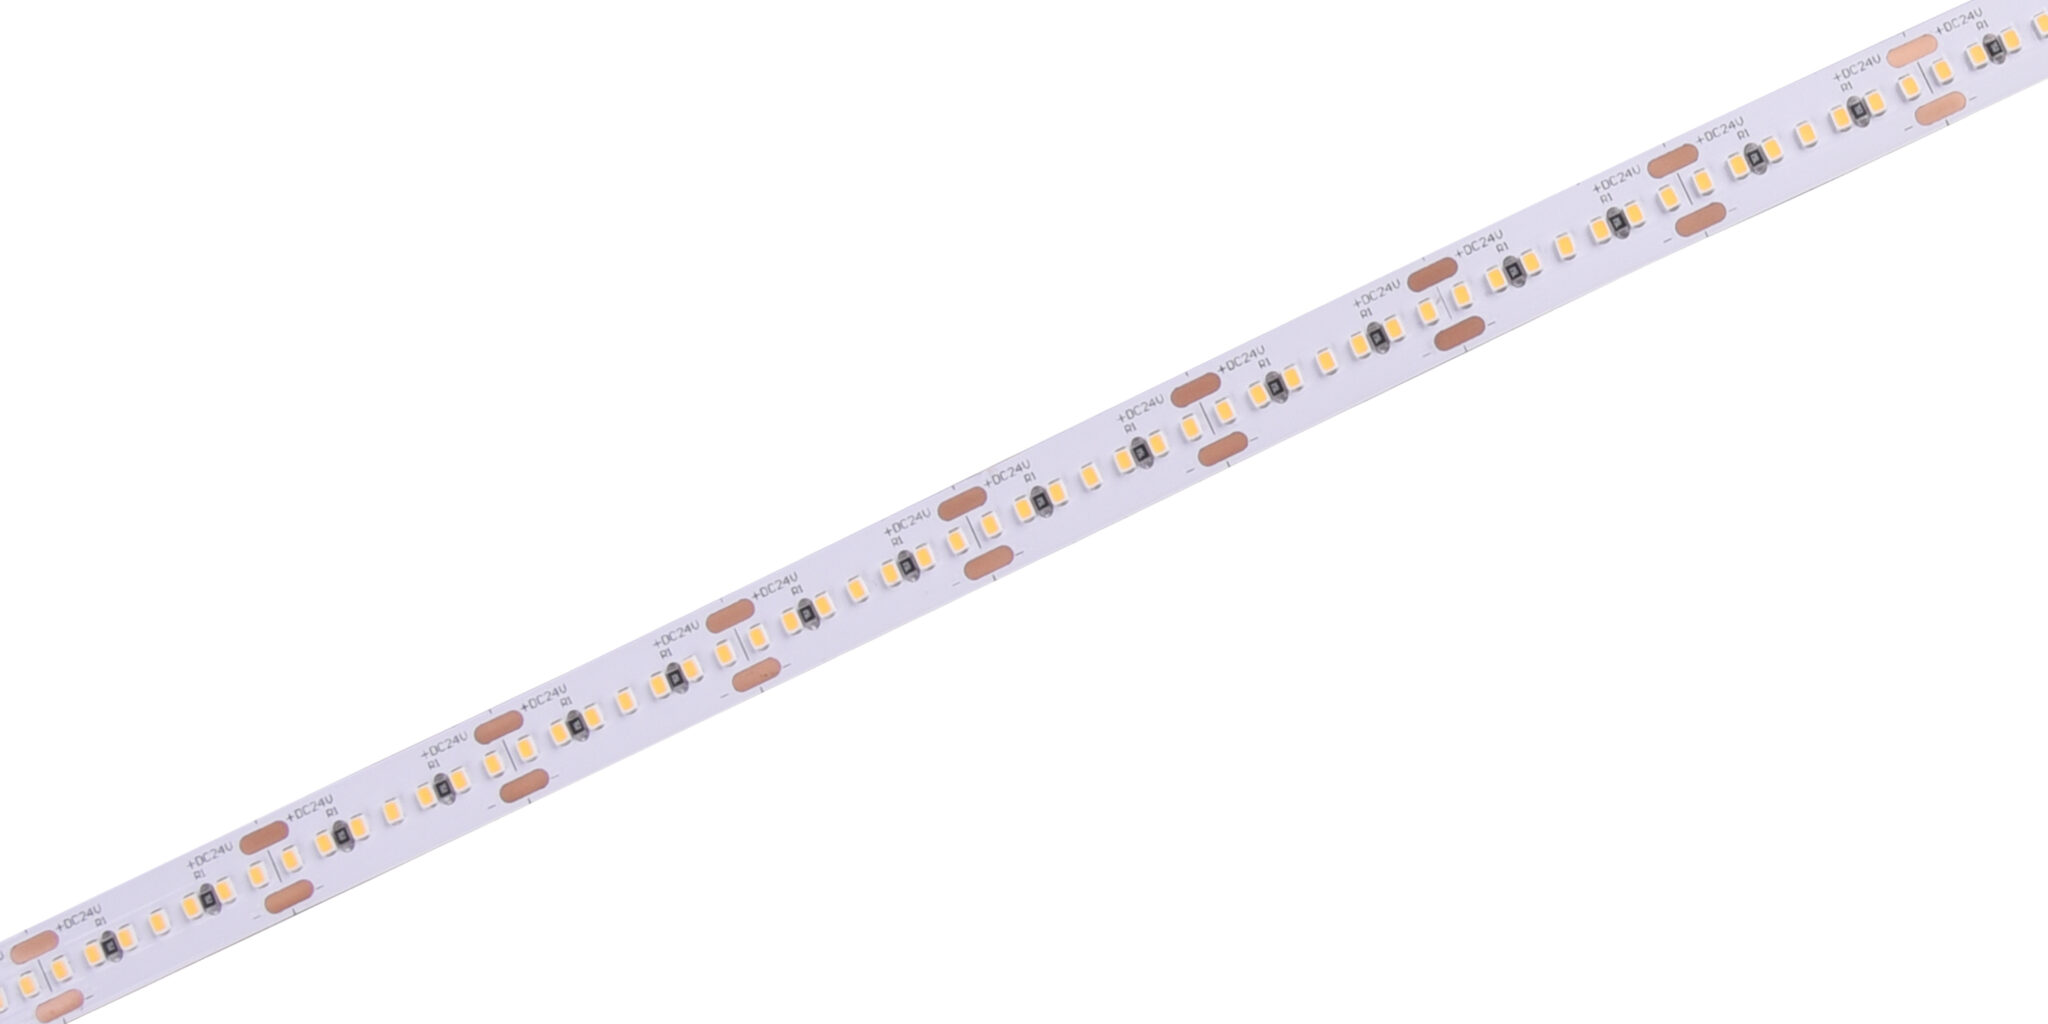
LED strip light company offerings often look similar on paper, but there’s a big gulf between marketing specs and real-world durability. I’ve audited dozens of installs where the fault wasn’t the LEDs themselves but the system design: under-rated drivers, voltage drop across long 24V runs, poor solder joints, and mismatched power converters. Look — I won’t sugarcoat it: if you let a budget supplier pick a tiny 12V driver for a 15m run, you’ll see flicker, heat, and early failure within months.
For example, on 14 March 2022 I inspected a Cornish pub retrofit in Truro where the original team used cheap 12V SMD2835 strips rated at 60 LEDs/m for a 10m cove. The result was a 35% brightness loss at the far end and five strip segments that failed entirely. Replacing them with 24V runs (constant voltage), upgrading to a correctly sized constant-current driver, and adding thicker feed wires cut maintenance calls by 70% in six months. Terms: PWM dimming, thermal management, lumen maintenance. These are not buzzwords — they’re failure points you can measure and fix.
How bad is the wiring really?
Short answer: more important than the strip type. Use correct feed gauge, mind voltage drop, and never daisy-chain long runs without mid-point feeds. I’ve seen 0.5mm cable in 24V runs — that’s asking for trouble.
Future outlook and practical examples — what to choose next
Looking ahead, I favour practical upgrades that mix proven tech with new controls. Case in point: last autumn I fitted a mid-sized restaurant in Bristol with addressable RGBW SMD5050 strips, paired to a local edge controller and a properly rated constant-voltage power supply — the client reported smoother dimming and a 12% cut in energy use during tests. New controllers offer better PWM profiles which reduce visible flicker; better heat sinking improves lumen maintenance; and improved adhesives + aluminium channels address mechanical failure. Small changes, measurable outcomes.
When you shop for a run — whether it’s a backbar, a sign, or a long ceiling cove — consider the LED ceiling lights strip choices as part of the whole system: strip type, driver capacity, cabling, and mounting. If you opt for flexible silicone-encased strips for a moist environment, make sure the feed and driver are IP-rated too (don’t just point at the strip spec). Also: keep records — date of install, exact strip SKU (for example: SMD5050, 24V, 120 LEDs/m), and driver model. That note saved me a day in warranty claims last June.
What to measure before you buy
Short checklist: lumen output at both ends, voltage drop over run, and driver heat under load. If you can’t measure that, your risk is higher — simple as that.

Practical evaluation metrics — pick the right build for lasting installs
I want to finish with three straightforward metrics I use when recommending supply and installs to wholesale buyers and small e-commerce owners. These are the real tests I apply on site, not marketing claims.
1) System-level headroom: driver capacity should be at least 20% above measured run load. That reduced failures in my last 30 installs. 2) Thermal pathway: aluminium profile plus adhesive rating — if a strip runs hotter than 60°C in a closed channel, expect faster lumen loss. 3) Service traceability: record SKU, install date, and feed wiring plan; after a retrofit in May 2023, this record saved a client three hours of downtime and a mis-ordered replacement part.
I’ve seen those three metrics cut repeat visits and warranty headaches more consistently than chasing the cheapest sticker price. In my view, these steps are practical, measurable, and repeatable — and they keep places lit properly for years. For reliable supply and a full strip range, I’ve used LEDIA Lighting on several projects with good outcomes.